
I have been having a hard time keeping this blog up this season! Not only am I busy making gifts (and getting ready for Christmas in general), but most of the people receiving handmade gifts from me are also people who read this blog, so I can't post their presents until I've given them! Luckily I've started handing some things out, so I'll have some posts for the next few days.
This tic-tac-toe board was a gift for the boy's best buddy, an almost-five-year-old. It was really quick to make, and my favorite addition to some of the inspirations I saw online was that I put a pocket on the back to hold the pieces to make it easy for travel.

I started by cutting two square pieces of felt and a piece of batting the same size. I think a good size would be about 9 inches square. (I made mine smaller than that and then had to have uneven tic-tac-toe squares in order to fit my pocket on the back.) I laid the batting on the bottom and two pieces of felt on top, then sewed the three together, leaving an opening to flip it inside out when I was done.

As you can see in the picture, I stitched two little lines perpendicular to the seam from the opening to the edge of the fabric. Since I don't iron the felt (it's acrylic), this helps fold the edges of the opening to the inside when you flip it right-side-out.

 |
| Close-up of the opening |

And flipped.

See how that little extra bit of sewing keeps the opening in?
 |
| Ribbit. |

Then I cut out a piece of felt for the pocket on the back side. You can see here how I should have had a bigger board, but oh well.

I then set my machine to a wide and short zig-zag stitch and sewed a straight line from the top to the bottom of the square, getting the side of the pocket in the line. Same thing for the other side of the pocket, then the bottom.

I sewed the line across the top of the pocket last, but first I cut an opening in the pocket so I could just catch the top edges in the sewn line and leave an opening for the pieces.
 |
| The pocket |
Then I made the pieces. I chose a slightly lighter color of green than the board with yellow thread for my "O"s--the recipient is a big Ducks fan. I layered a piece of batting between two pieces of felt and sewed the pieces all in one piece.

And yes, I made five of each kind of piece. Can you do only four of each kind of piece? Do you ever need more than that to win a game? Does anybody know? In any case, there are nine squares so I just made ten pieces to be safe.
Then I trimmed around the outside and trimmed the loose threads.

Next up was the "X"es, in yellow felt with green thread.
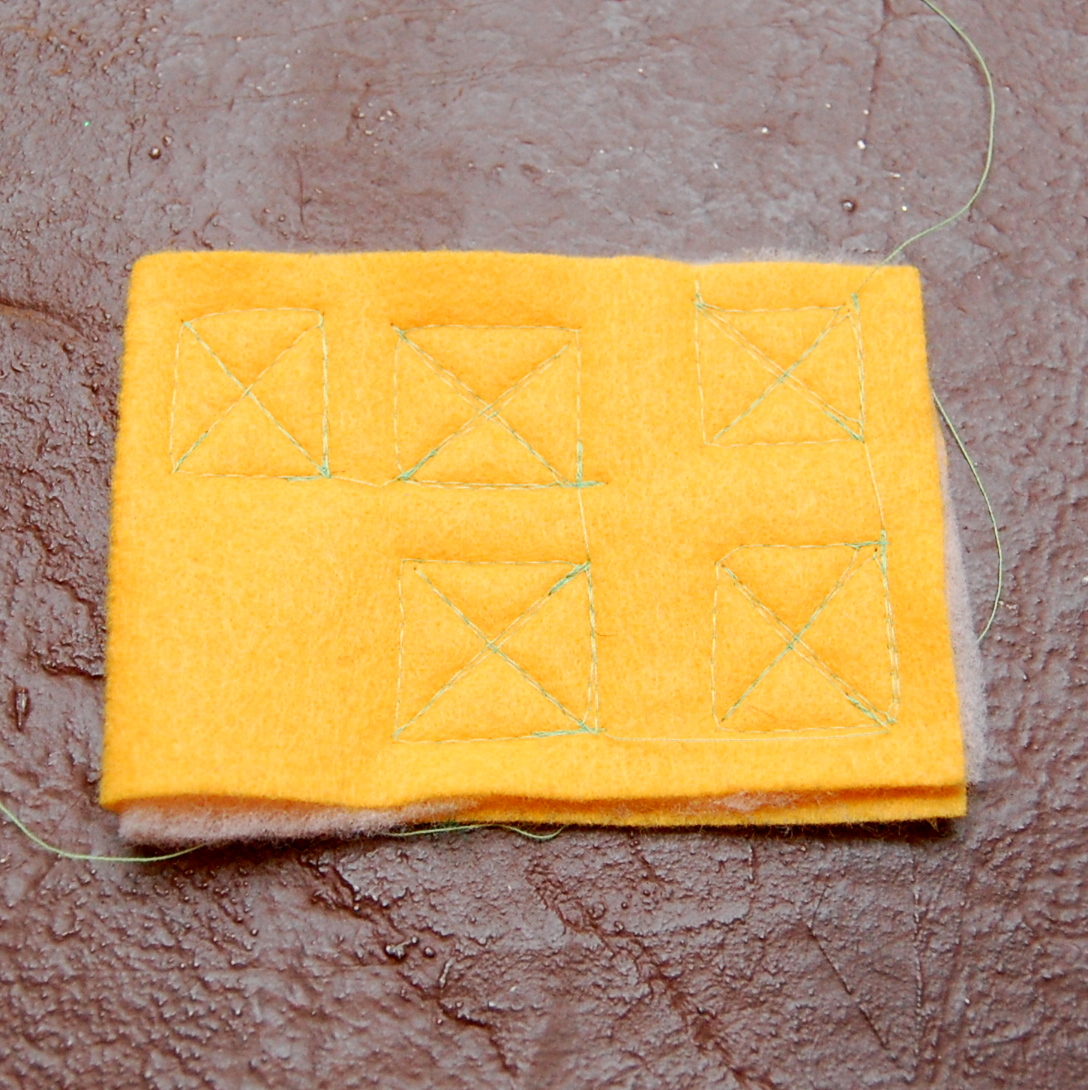
 |
| They look less like Cheezits in person. |
And that was it! Kind of a tight fit into the pocket, but it will work. Probably easier to just fit eight pieces in :)

And we had to give it a test run before wrapping it up. Of course, he beat me.
 |
| Is there something you shout when you win at tic-tac-toe? There should be! |

No comments:
Post a Comment
Note: Only a member of this blog may post a comment.